How to Clean Nail Art Brushes: The Ultimate Guide for Long-Lasting Tools
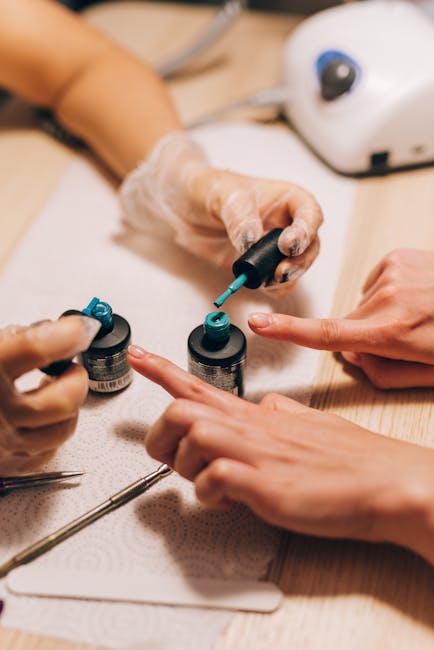
Nail art brushes are your most valuable tools, enabling you to create intricate designs and stunning manicures. But without proper cleaning, these delicate instruments can quickly become clogged, damaged, and even harbor harmful bacteria. This comprehensive guide will walk you through the best methods for cleaning nail art brushes, ensuring their longevity and your continued creative freedom.

Understanding the Importance of Cleaning
Neglecting to clean your nail art brushes can lead to a number of problems, impacting both the quality of your work and your health. Here’s why regular cleaning is crucial:
- Prevents Clogging: Dried polish, acrylics, gels, and other nail art products can harden within the brush hairs, making them stiff, unusable, and difficult to clean later.
- Maintains Brush Shape and Elasticity: Proper cleaning helps maintain the brush’s original shape and keeps the bristles soft and supple, crucial for precise application.
- Enhances Longevity: Regular cleaning extends the lifespan of your brushes, saving you money in the long run.
- Promotes Hygiene: Dirty brushes can harbor bacteria, potentially causing infections or allergic reactions. Keeping them clean is essential for maintaining good hygiene practices.
- Improves Color Vibrancy: Residual color from previous applications can dull the vibrancy of your new nail art creations. Cleaning ensures clean, crisp colors in your designs.
Choosing the Right Cleaning Method
The best cleaning method depends on the type of nail art product used. Different products require different approaches for optimal cleaning. Let’s break down the best strategies for each:
Cleaning Brushes After Using Nail Polish
Nail polish is generally the easiest to remove. Immediately after use, wipe off excess polish on a paper towel. Then, gently swirl the brush in a small container of nail polish remover until the bristles are clean. Avoid harsh scrubbing, as this can damage the bristles.
For stubborn stains, you can use a specialized brush cleaner or gently massage the bristles with a soft soap and water solution. Rinse thoroughly and reshape the bristles before allowing the brushes to air dry.
Cleaning Brushes After Using Acrylics and Gels
Acrylics and gels require a more thorough cleaning process. For acrylics, start by removing as much excess product as possible with a paper towel. Then, soak the brushes in acrylic cleaner for a few minutes to soften the dried acrylic. Gently agitate the bristles to remove the product. Once the acrylic is dissolved, rinse the brush thoroughly with warm water and soap.
For gels, you will need to use a gel cleanser or acetone. After removing the bulk of the gel, soak the brush in the cleaner according to the product instructions. Gently remove remaining residue and rinse thoroughly.
Cleaning Brushes After Using Other Nail Art Products
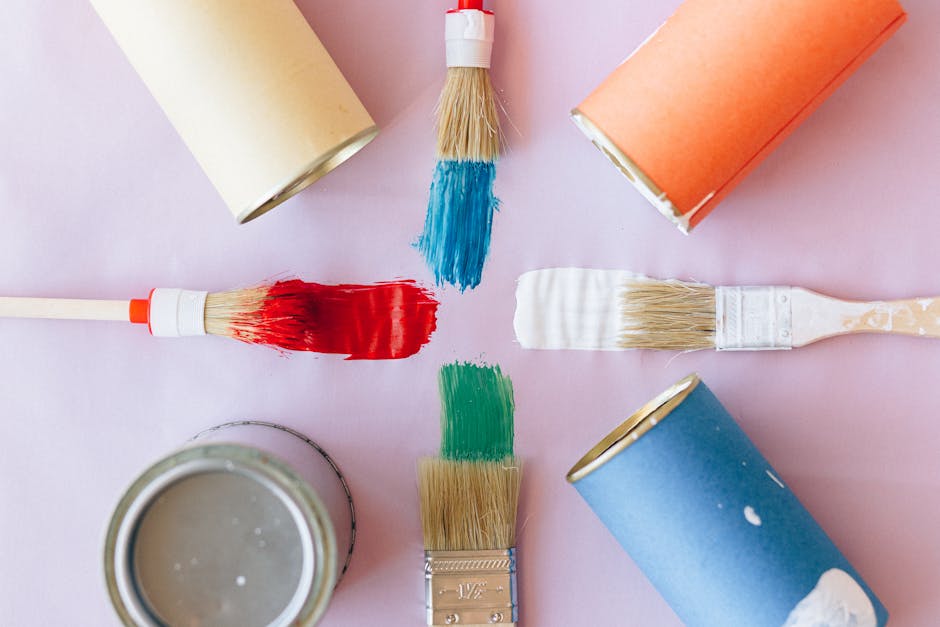
The cleaning process for other nail art products, such as glitter, pigments, or metallic paints, often involves a combination of the above methods. Start by wiping off excess product. Then use a suitable solvent (e.g., acetone for some glitter) followed by a gentle soap and water rinse. Always check the product’s instructions for specific cleaning recommendations.
Step-by-Step Cleaning Process
- Remove Excess Product: Immediately after use, remove as much of the nail product as possible from the brush using a paper towel or lint-free cloth.
- Choose Your Cleaning Agent: Select the appropriate cleaning solution based on the type of product used (nail polish remover, acrylic cleaner, gel cleanser, or soap and water).
- Soak and Agitate: Gently swirl the brush in the cleaning solution for a few minutes to loosen the product. For stubborn residue, you might need to soak for longer or repeat the process.
- Rinse Thoroughly: Rinse the brush with lukewarm water until all traces of cleaning solution and nail product are gone. Ensure the water runs clear.
- Shape and Dry: Gently reshape the bristles back into their original form. Lay the brush flat to air dry, ensuring the bristles are not compressed. Avoid leaving them in direct sunlight or heat to prevent damage.
Maintaining Your Nail Art Brushes
Proper maintenance is as crucial as cleaning. Here are some tips to prolong the life of your brushes:
- Store Properly: Store your brushes in a cool, dry place away from direct sunlight. Keep them upright in a container or brush holder to prevent bending or damage.
- Avoid Overloading: Don’t overload your brushes with too much product. This can cause damage and make cleaning more difficult.
- Clean After Every Use: This is the single most important aspect of brush maintenance. Always clean your brushes immediately after each use to prevent product buildup and hardening.
- Invest in Quality Brushes: High-quality brushes are generally more durable and easier to clean. While pricier, they pay for themselves over time due to increased longevity.
- Regular Deep Cleaning: Once a month, perform a thorough deep clean, soaking your brushes in a stronger cleaning solution for a longer period. This eliminates any remaining residue and helps maintain brush hygiene.
Troubleshooting Common Problems
Even with the best care, you might encounter problems. Here’s how to address some common issues:
Stiff or Damaged Bristles:
If your brushes have become stiff, try soaking them in a deep conditioning solution designed for nail art brushes. If the damage is severe, it might be beyond repair.
Persistent Stains:
Persistent stains can sometimes be removed with specialized stain removers or by gently rubbing the bristles with a mild abrasive cleaner (like a very gentle non-abrasive scrub).
Mold or Mildew:
If you notice mold or mildew, discard the brushes immediately. These cannot be safely cleaned and pose a hygiene risk.
Conclusion
Cleaning your nail art brushes properly is a crucial part of maintaining your tools and ensuring the longevity of your creative process. By following these guidelines, you can protect your investment, create stunning nail art, and maintain a hygienic workspace.
