
Grill Master’s Guide: Achieving Perfectly Cooked Corn on the Cob Every Time
Summer barbecues are incomplete without the sweet, smoky flavor of perfectly grilled corn on the cob. But achieving that ideal texture and taste requires more than just tossing it on the grill and hoping for the best. This comprehensive guide will take you through every step, from selecting the freshest corn to mastering different grilling techniques and troubleshooting common problems, ensuring you achieve mouthwatering results every time.
Choosing the Right Corn
The foundation of great grilled corn is, naturally, the corn itself. Look for ears with tight, green husks. The kernels should be plump and juicy, with a milky appearance. Avoid ears with dry or withered husks, as these will likely be less flavorful and tender.
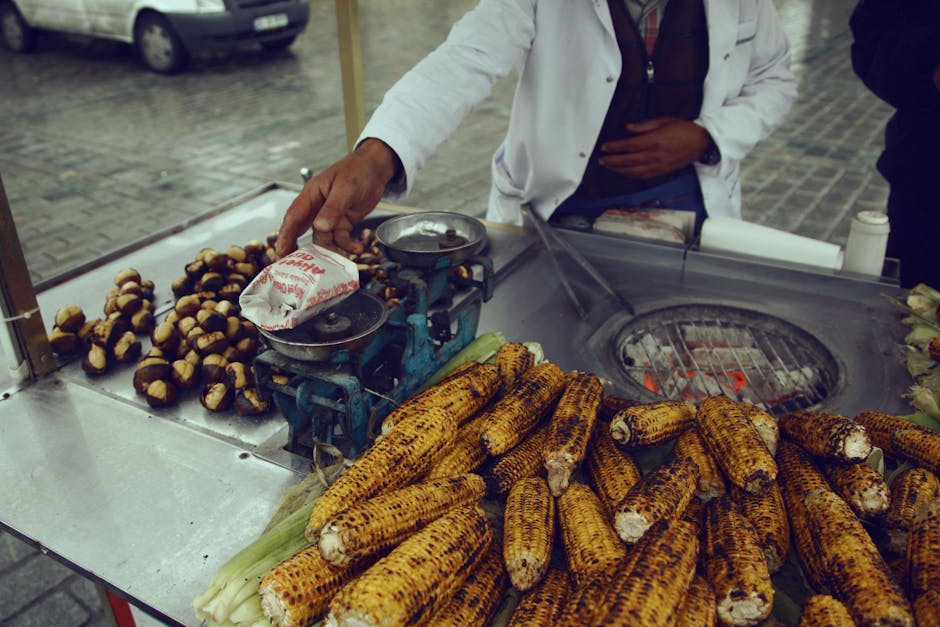
Freshness is Key: Ideally, choose corn that was harvested within 24 hours of purchase. Farmers’ markets are great places to find this high-quality produce.
In-Season Bounty: Corn is best enjoyed during its peak season, usually late summer to early fall. The flavor and sweetness are most intense during these months.
Preparing the Corn for Grilling
While grilling corn in the husk is popular, there are other excellent methods. Here’s a breakdown of the most common approaches:
Grilling Corn in the Husk
- Remove Silk: Gently peel back the husk, leaving it attached at the base, and remove the silks. You can use a small knife or your fingers for this. Wash the husks if necessary.
- Soak (Optional): Soaking the corn in the husks for 15-20 minutes before grilling helps prevent burning and adds moisture. This is especially beneficial if using high heat.
- Tie & Grill: Tie the husk back together with kitchen twine or simply fold it over. Place the corn directly on the grill.
Grilling Corn Without the Husk
- Shuck the Corn: Remove all the husk and silk.
- Soak (Optional): Soaking the corn for 10-15 minutes before grilling helps maintain moisture and prevents sticking.
- Wrap (Optional): For added flavor and moisture, you can wrap the corn in foil or in corn husks that have been soaked for 15-20 minutes, creating little foil packets.
- Grill Directly: Place the corn directly on the grill grates, ensuring that the kernels are facing the heat.
Grilling Corn with Butter and Herbs (Pre-Grilling)
- Prepare the corn: Shuck the corn and soak briefly in water. Then, pat it dry.
- Brush with Butter: Melt butter and brush generously onto each ear of corn.
- Add Herbs: Sprinkle the corn with your favorite herbs (e.g., parsley, chives, oregano). Add salt and pepper as well.
- Grill Directly: Carefully place the corn on the grill and cook according to the following section.
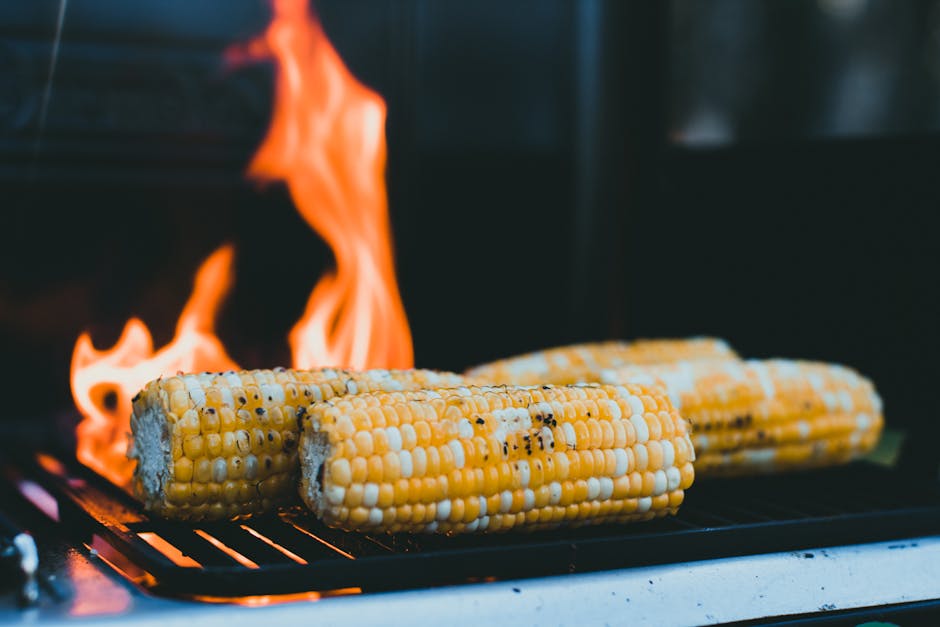
Grilling Techniques and Timing
The ideal grilling time depends on your grill’s temperature and the method you’ve chosen. Always monitor the corn closely to prevent burning.
Direct Grilling:
Direct grilling involves placing the corn directly over the heat. This method results in nice char marks and cooks faster. For best results, use medium-high heat (350-400°F). Rotate the corn every 5-7 minutes, ensuring all sides receive equal grilling time. Depending on the thickness and method, this typically takes 15-25 minutes.
Indirect Grilling:
Indirect grilling involves cooking the corn on a cooler part of the grill, away from the direct heat. This method prevents burning and produces a more evenly cooked corn on the cob. You may need to use a grill with two heat zones or move the corn as needed. Cooking time might be longer, between 20-30 minutes. Check for doneness frequently.
Using a Grill Basket:
A grill basket is an excellent tool for grilling corn, especially when using kernels without husks. It prevents the corn from rolling and allows for even cooking. Place the corn into the basket and cook according to the direct or indirect method.
Signs of Perfectly Grilled Corn
- Tender Kernels: The kernels should be easily pierced with a fork.
- Slight Charring (Optional): Some charring adds delicious flavor, but avoid excessive burning.
- Sweet Aroma: The corn will have a sweet, slightly smoky aroma.
- Juicy Interior: The kernels should be moist and juicy, not dry and hard.
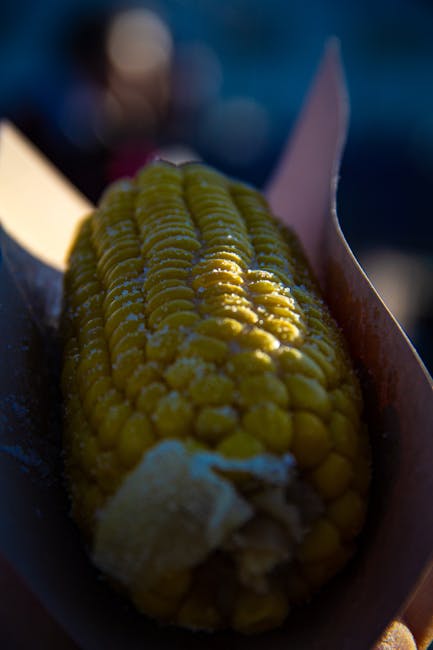
Serving Suggestions
Once your corn is cooked to perfection, there are countless ways to serve it. Here are a few ideas:
- With Butter: A classic pairing! Use melted butter, herb butter, or flavored butters.
- With Chili Powder: For a spicy kick.
- With Parmesan Cheese: Adds a savory element.
- With Lime Juice: Enhances the sweetness and adds a refreshing touch.
- As a Side Dish: Serve alongside grilled meats, fish, or vegetables.
Troubleshooting Common Problems
Problem: Corn is burning too quickly.
Solution: Reduce grill temperature; move corn to a cooler area of the grill; soak corn longer before grilling.
Problem: Corn is not cooking evenly.
Solution: Rotate corn frequently; use a grill basket; consider indirect grilling.
Problem: Corn is dry and tough.
Solution: Soak corn before grilling; use indirect heat; don’t overcook.
Problem: Corn is sticking to the grill grates.
Solution: Oil grill grates; use a grill basket; soak corn before grilling.
Mastering the art of grilling corn on the cob is a rewarding experience. With these tips and techniques, you’ll be able to consistently create delicious, perfectly grilled corn that’s sure to impress your family and friends. Happy grilling!
